Want to check out our tractor maintenance videos? Click here to see what we've got!
Tractor Maintenance Made
EASY
Welcome To Vintage Tractor Engineer.
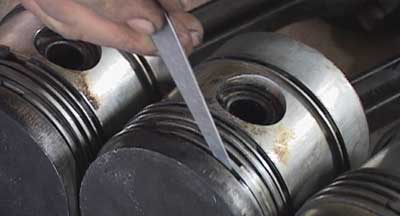
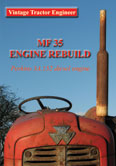
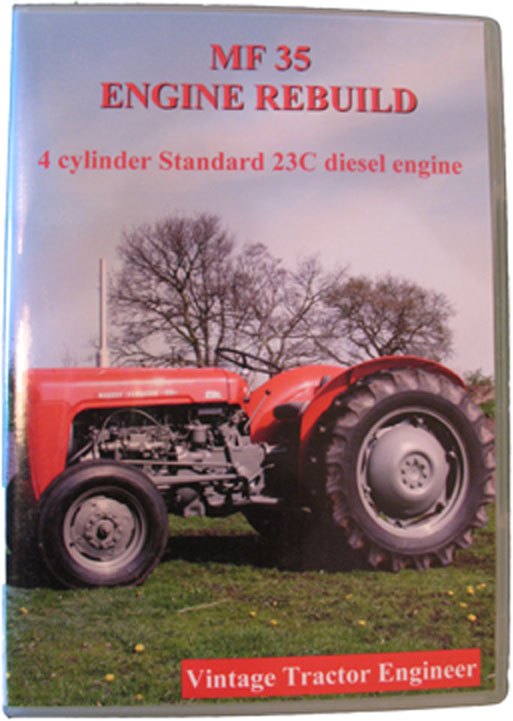
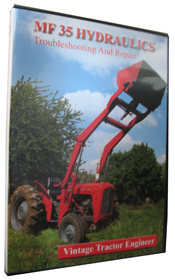
This website is all about providing information on tractor maintenance. Here at VTE we have hundreds of articles and full length maintenance DVD’s to help keep your tractor running smoothly.
Who is Vintage Tractor Engineer?
Vintage Tractor Engineer is brought to you by tractor enthusiast brothers Ian and Steve Ridsdale. They spend their days repairing tractors old and new, and bring some of that knowledge right here to you on this website.
If you have anything to add, just drop us an email. We’re always interested to hear about your maintenance tips, tricks and restoration stories.
We Want YOU To Be A Maintenance Expert!!!
If you want to maximise your skills and learn new tips, tricks and techniques, then sign up for our emails.
You’ll get the very best hand selected articles delivered straight into your inbox – so you won’t miss a thing!
We publish a great variety of different topics. These vintage and classic tractors have survived for all these years, so give them the care they deserve!!!