Want to check out our tractor maintenance videos? Click here to see what we've got!
We have already shown some snap-shots from the strip-down of this engine. Today’s photos from the DVD (34 of them!!!) are from the rebuild process, including the visit to the engineers. Here they are, enjoy…
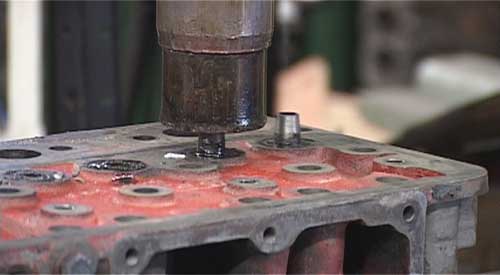
Pressing out valve guides, most of them were stuck in and collapsed under the press.
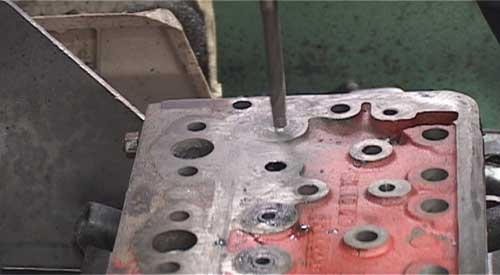
We ended up drilling the guides to get them out.
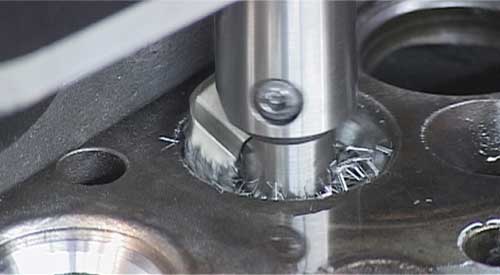
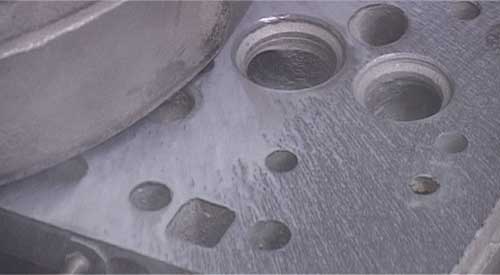
Re-cutting the valve seats to the correct angle. Valve seat inserts needed fitting as there was too much wear on the old seats for a simple re-cutting.
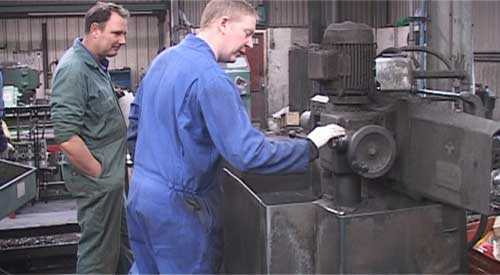
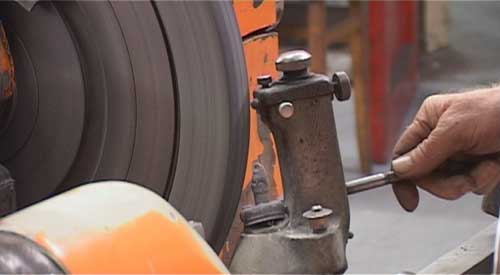
Adjusting the surfacer for the cylinder head.
The surfacing machine working on the cylinder head.
The crank grinding machine. Here the grinding wheel is dressed to get the correct corner radius for our journals.
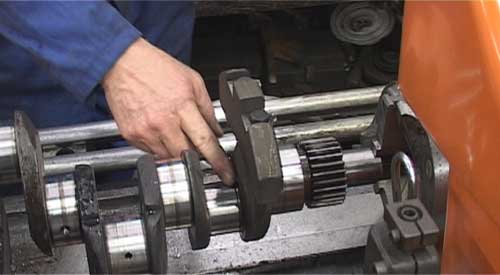
The balance weights need removing so the grinding wheel can get into the journals.
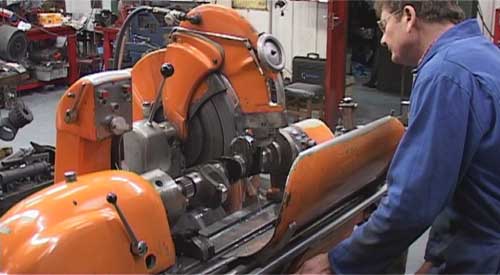
Concentrating on the job! Grinding a crank is a skilled operation, John has done it for a long time and always makes a good job. An interesting process to watch, especially the big ends.
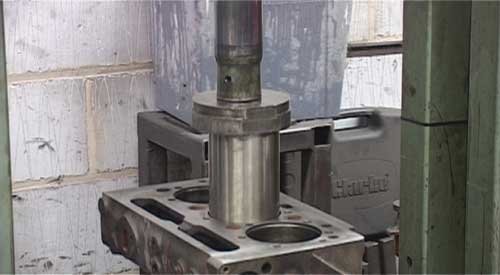
This machine is about to cut a new step for the cylinder liners to fit onto. The cutter self-centres, in this photo the cutting head is determining its position before it starts to cut.
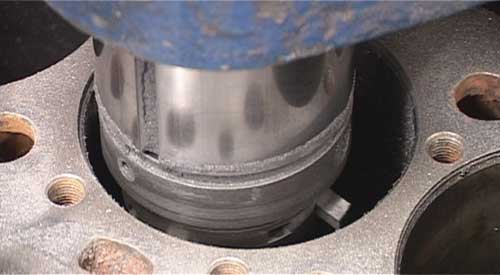
Pressing in the new cast liners.

Lubricate all bearing surfaces as they are fitted together. Use clean engine oil. Note the plastic end fitted to the oil can to prevent the steel oil can from scratching the bearing surface.
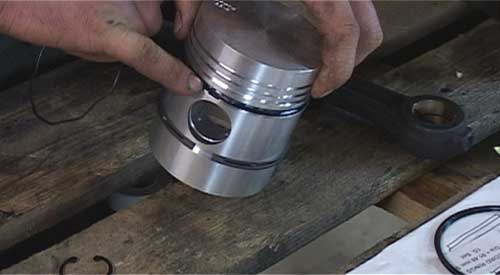
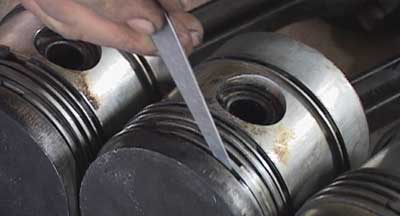
New rings being fitted to the pistons.

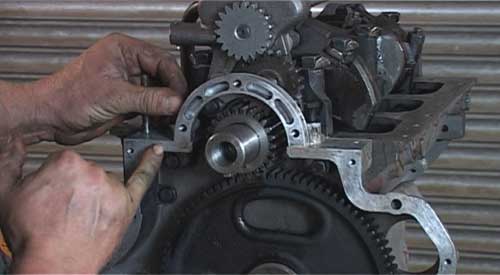
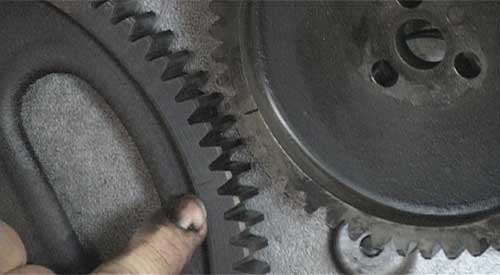
Aligning the marks on the timing gears.
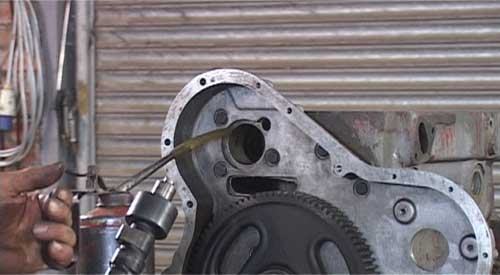
Take some care when fitting the bridge or you will have trouble with sealing the sump and timing cover.

Fitting the cork seals.
Fitting rope seals. Lots of people get this wrong and end up with oil leaking. Take care and use the correct procedure.
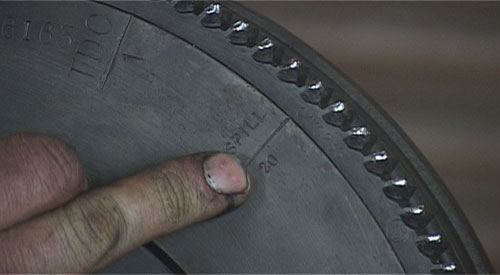
Understanding the markings on the flywheel.
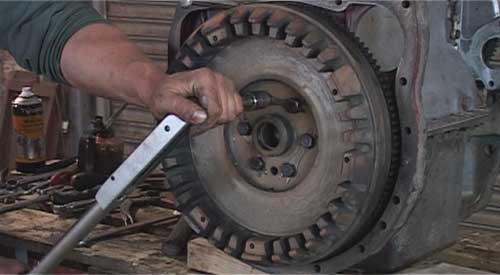
Using a torque wrench to tighten the flywheel bolts.
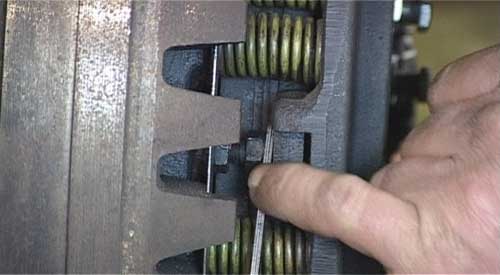
Using feeler gauge to set the pto clutch on dual clutch tractors.
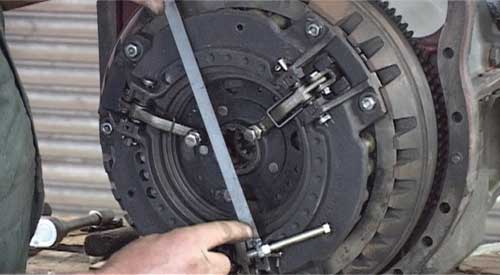
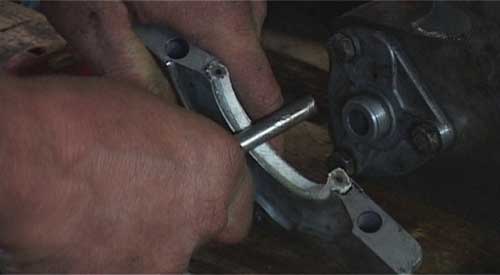
Tool to set the clutch fingers.
Plenty of oil again as the camshaft goes back in.
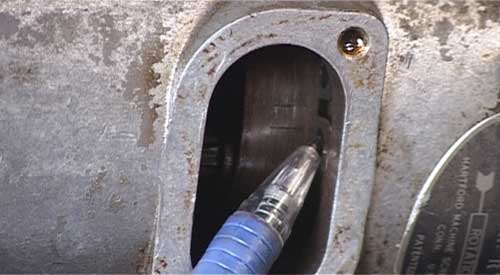
Injection pump drive gear.
Looking inside the cover plate of the injection pump. The flywheel is at the spill mark before setting this.
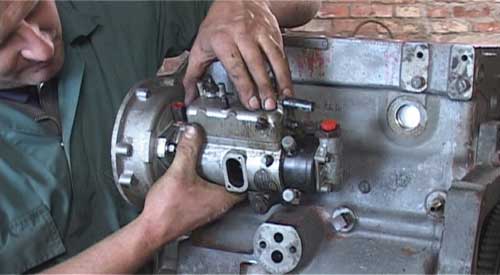
Rotating the pump to get the setting as accurate as possible.
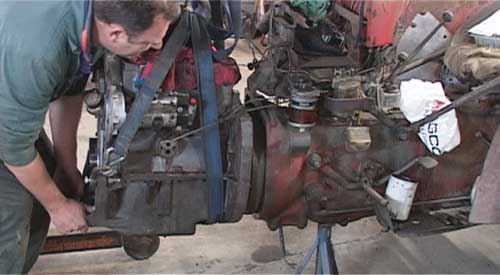
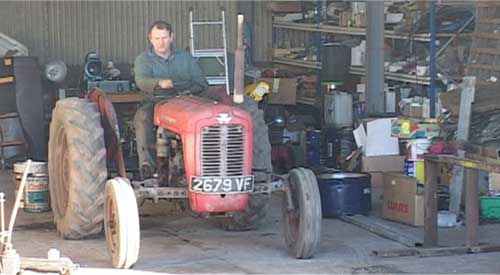
The engine block goes back onto the tractor.

After fitting the axles and wheels the tractor can then be let down off its stands so it is now safe to work on.
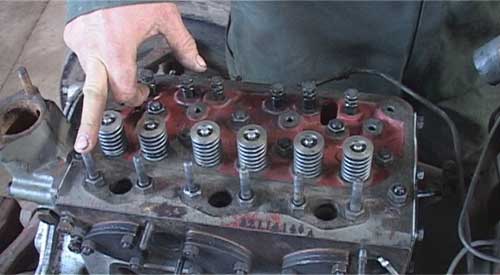
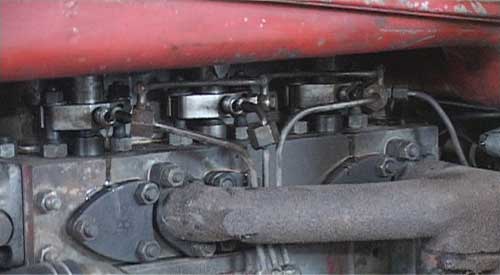
The cylinder head is assembled and then fitted back to the block. There is a specific sequence for tighteneing down the head bolts.
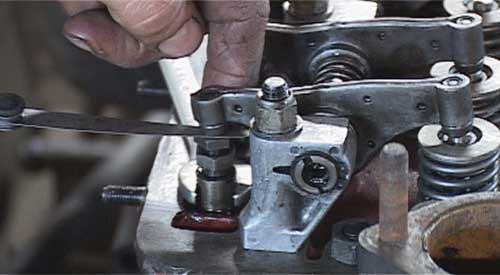
Setting valve clearances.
The wiring loom goes back on. Just a few more components to fit and then we will be ready to try and start the engine.
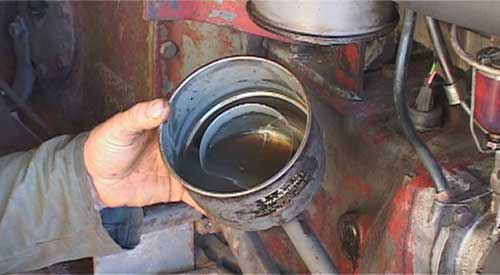
Make sure the oil bath air cleaner is cleaned out, fresh oil added and the element is in good condition. We don’t want to ruin all our good work.
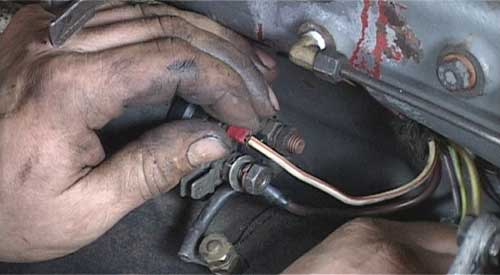
The filters and fuel injection pump have been bled and we can see here the fuel coming out of the injector pipes. These can then be tightened down and we are ready to try starting the engine.
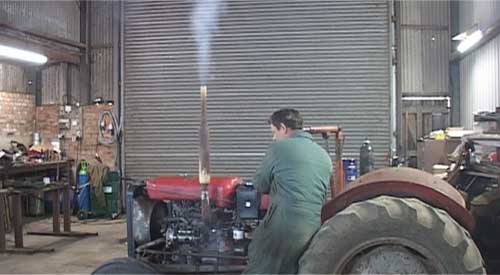
A few seconds of cranking and away she went. The blue smoke here in this photo will be the excess oil burning off the pistons that we used to lubricate during assembly.
Engine running sweetly and it’s now time to leave the workshop.
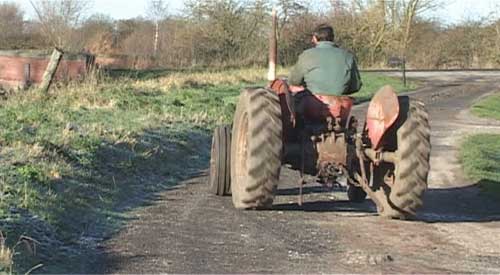
Off she goes. Good for another 50 years!
I hope these snap-shots from the film go some way to showing the detail we have tried to cover in the DVD – but it is all important detail. There’s no point in doing an engine rebuild if things aren’t done properly.